
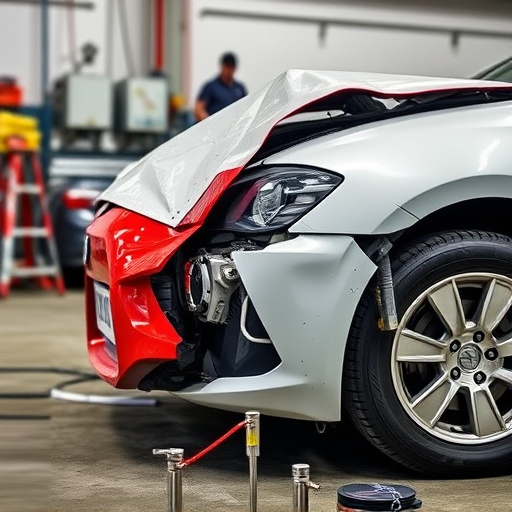

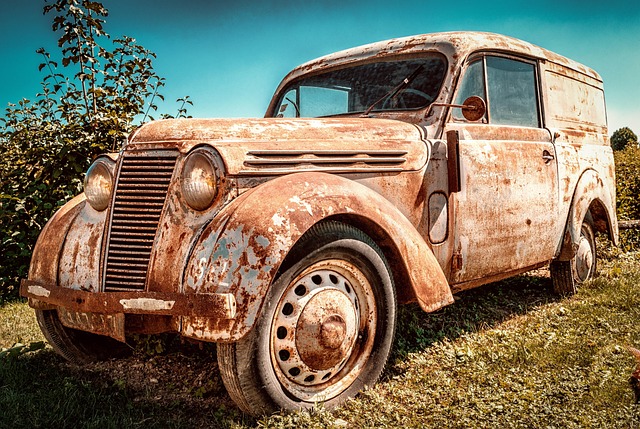
A successful bumper paint touch-up demands meticulous surface preparation, including cleaning, sanding, priming, and degreasing, for long-lasting adhesion and a seamless finish. Proper prep maintains aesthetics and structural integrity, crucial whether done by professionals or DIYers. Common mistakes like improper cleaning or incorrect paint match lead to subpar results; always use manufacturer-approved paint for optimal durability and aesthetics.
“Looking to perfect your bumper with a paint touch-up? It’s not just about choosing the right color; bumper paint touch-up success hinges on surface preparation. This comprehensive guide breaks down the essential steps and considerations for preparing your bumper, from cleaning and sanding to filling imperfections. Learn how to avoid common mistakes and ensure a smooth, professional finish. By following these tips, you’ll achieve a perfect bumper paint touch-up every time.”
- Understanding Bumper Paint Touch-Up: Why Surface Preparation Matters
- The Steps Involved in Preparing Your Bumper for Paint
- Common Mistakes to Avoid During the Bumper Paint Touch-Up Process
Understanding Bumper Paint Touch-Up: Why Surface Preparation Matters
A successful bumper paint touch-up job relies heavily on meticulous surface preparation, a step often overlooked but crucial to achieving optimal results. Before applying any new paint, it’s essential to ensure the bumper’s surface is clean, smooth, and free from any contaminants. This process involves several steps, including sanding, priming, and degreasing, to create a solid foundation for the fresh coat of paint.
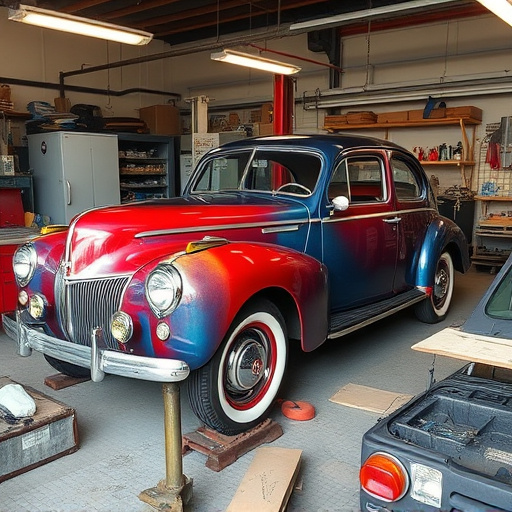
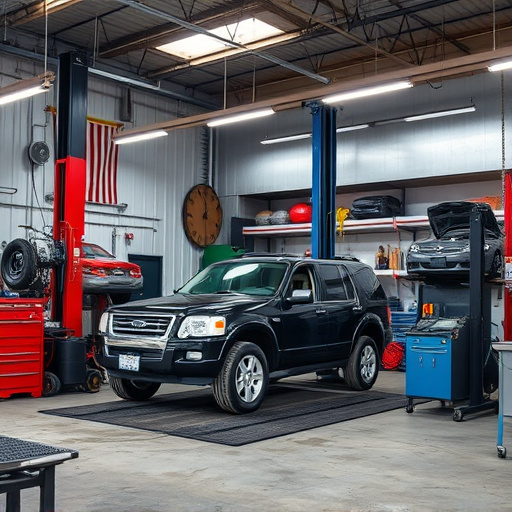
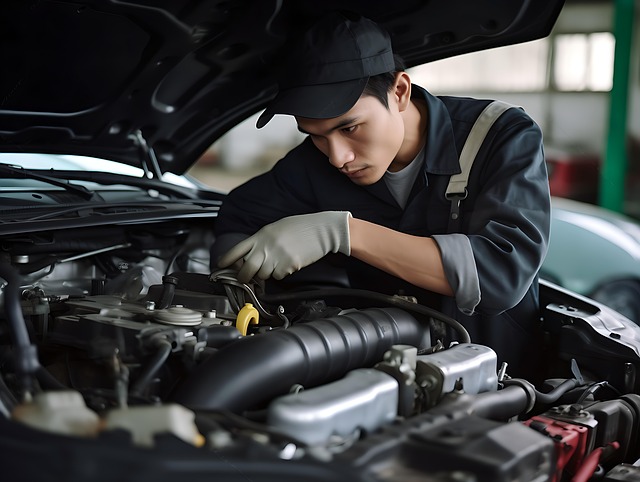
Proper preparation ensures that the new paint adheres well, providing a long-lasting and seamless finish. At a professional collision repair center or car paint services shop, this initial step is typically done with care and precision using specialized tools and techniques. Understanding these requirements is key to maintaining the aesthetics and structural integrity of your vehicle’s bumper, making it an integral part of any bumper paint touch-up service, whether it’s handled by a body shop services provider or done as a DIY repair.
The Steps Involved in Preparing Your Bumper for Paint

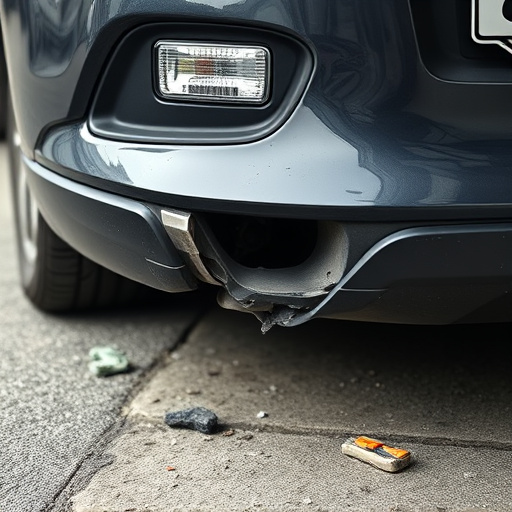
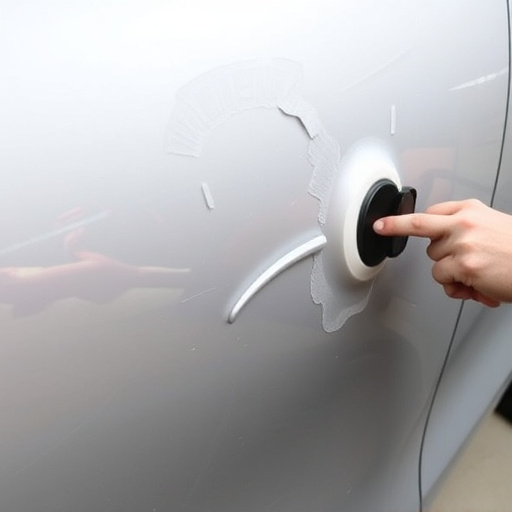
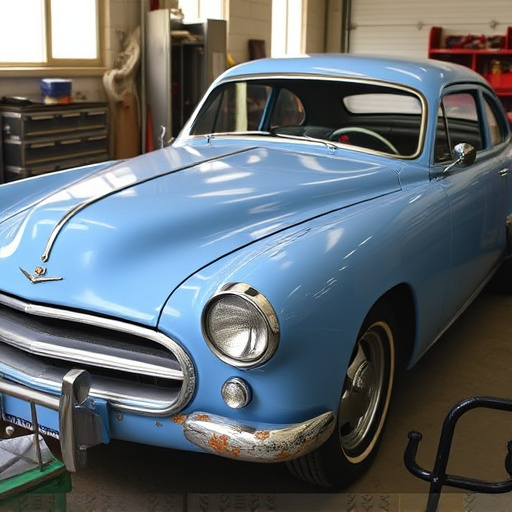
Before attempting a bumper paint touch-up, proper surface preparation is essential for achieving a professional, long-lasting finish. Start by thoroughly cleaning the bumper to remove any dirt, grease, or debris using mild soap and warm water. Dry the area completely with a clean towel to ensure no moisture remains. Next, inspect the bumper for any dents, scratches, or damaged areas that need repair before painting. Use auto body putty or filler to smooth out imperfections, then sand the surface gently to create a smooth base.
Once the surface is prepared, degrease the bumper again to eliminate any residual oils. You can use a dedicated degreaser or a mild solvent to ensure the paint adheres properly. After degreasing, rinse the area with water and allow it to dry once more. This meticulous preparation ensures that your bumper paint touch-up results in a seamless, durable finish—an integral part of auto maintenance and vehicle paint repair, especially following an auto collision repair.
Common Mistakes to Avoid During the Bumper Paint Touch-Up Process

During a bumper paint touch-up, common mistakes can lead to subpar results and require additional work later on. One of the most frequent errors is failing to properly clean the surface before applying new paint. Debris, dirt, or old paint can cause bubbles, peeling, or an uneven finish. Always take the time to thoroughly wash and degrease the bumper, ensuring it’s free from any contaminants.
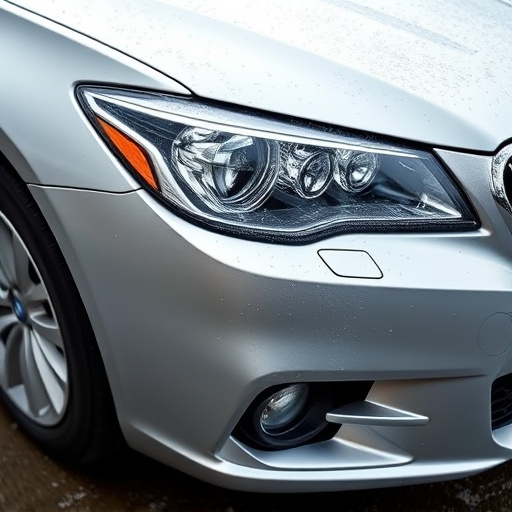
Another mistake to avoid is using the wrong paint match. It’s crucial to select a color that precisely matches the original, especially in the vehicle body shop or automotive body shop environment where precision matters. Inexperienced individuals might opt for a quick fix by choosing a similar shade, but this can result in an obvious repair that detracts from the overall look of the vehicle. Always consult with professionals and use manufacturer-approved paints for optimal results.
A successful bumper paint touch-up relies heavily on proper surface preparation. By meticulously following the steps outlined in this guide, from understanding the process to avoiding common mistakes, you’ll ensure a smooth and long-lasting repair. Remember, the foundation of any paint job is its surface, so take the time to prepare your bumper correctly, and your bumper paint touch-up will be a game-changer, enhancing your vehicle’s appearance for years to come.