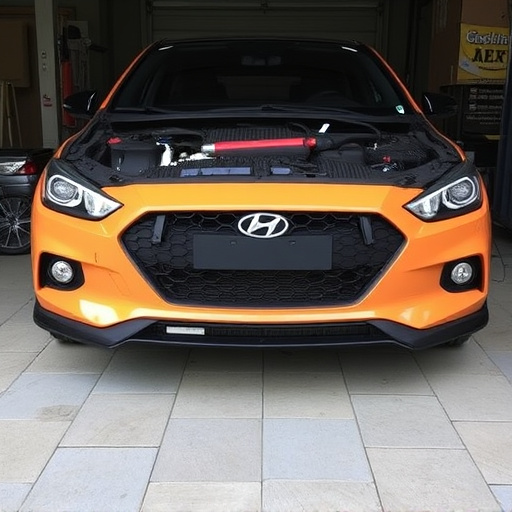
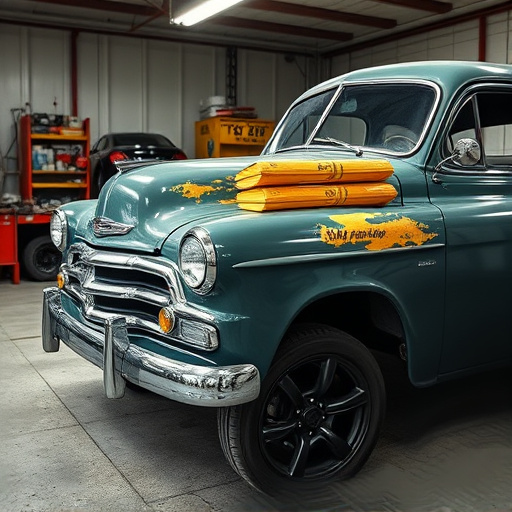


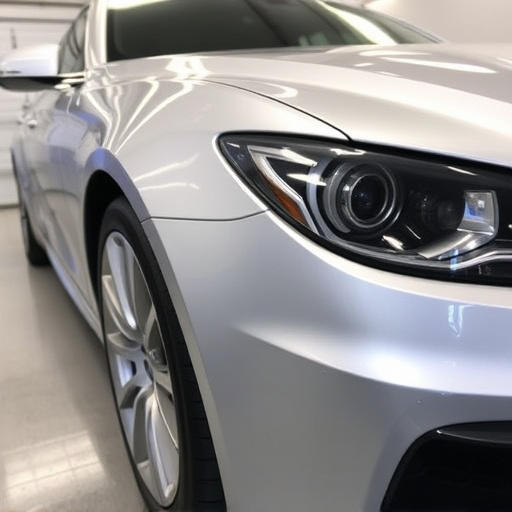
After bumper paint touch-up services, meticulous inspection is crucial to ensure long-lasting results. Clean and prepare the area, repair damages, and use advanced tools for precise color matching with expert technicians for a flawless finish that boosts aesthetics and market value.
After completing bumper paint touch-up services, adhering to best practices ensures a durable and precise finish. Begin by thoroughly inspecting and assessing the repair area to identify any imperfections or gaps. Prepare the surface by cleaning and priming it for optimal paint adhesion. Match the color precisely using appropriate tools and techniques to blend seamlessly with the existing bumper coat. Following these steps guarantees a high-quality, long-lasting touch-up job.
- Inspect and Assess the Repair Area Thoroughly
- Prepare the Surface for Optimal Paint Adhesion
- Match Color Precisely Using Appropriate Tools
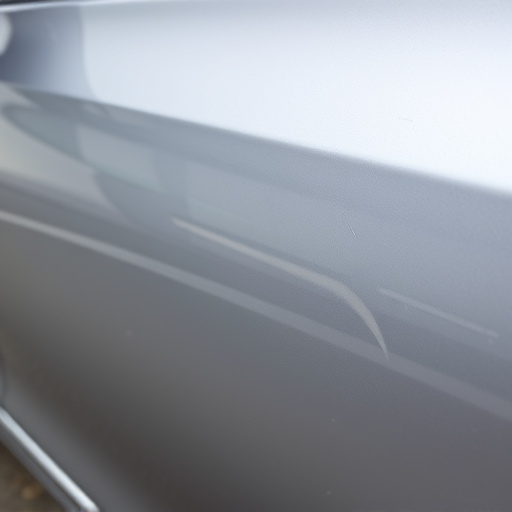
Inspect and Assess the Repair Area Thoroughly
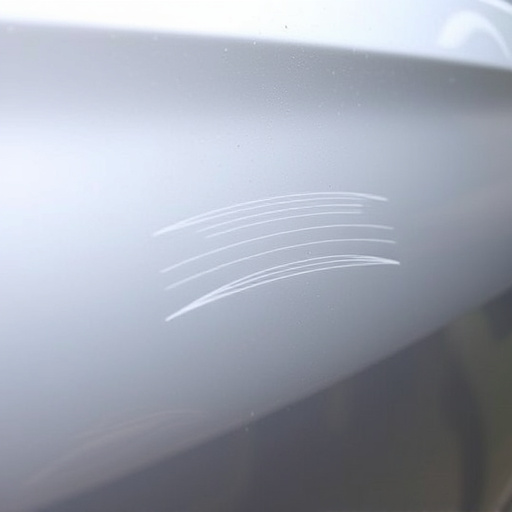
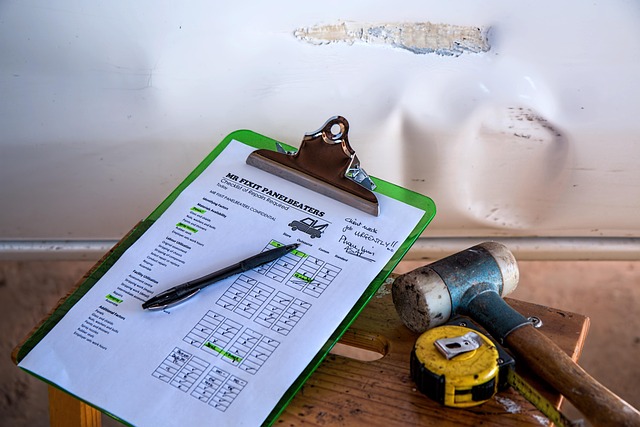
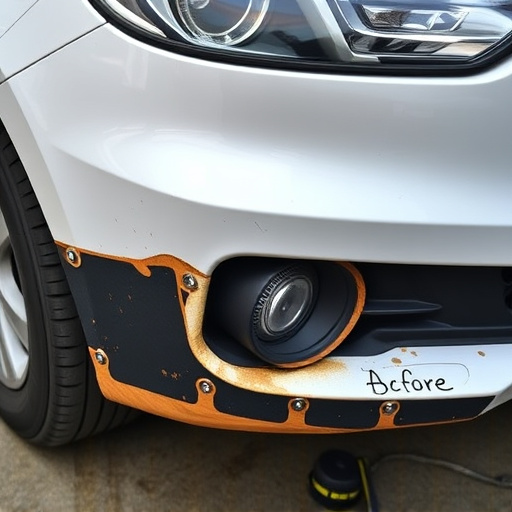
After completing bumper paint touch-up services, a meticulous inspection and assessment of the repair area are crucial steps in ensuring long-lasting results. Before considering the job complete, take the time to thoroughly examine every detail of the bumper. Look for any signs of residual damage, such as minor dents or scratches that may have been missed during the initial repair process. These overlooked issues can often be addressed with simple techniques like car dent removal or light frame straightening if necessary.
Pay close attention to the paint job itself—its color, texture, and overall smoothness. Ensure the touch-up accurately matches the surrounding body panels in terms of shade and finish. This consistent blend is essential for maintaining a sleek and professional look across your vehicle’s exterior, enhancing its overall aesthetic appeal and market value.
Prepare the Surface for Optimal Paint Adhesion
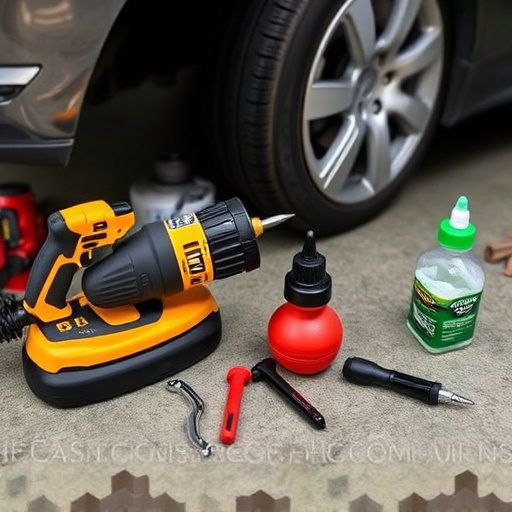
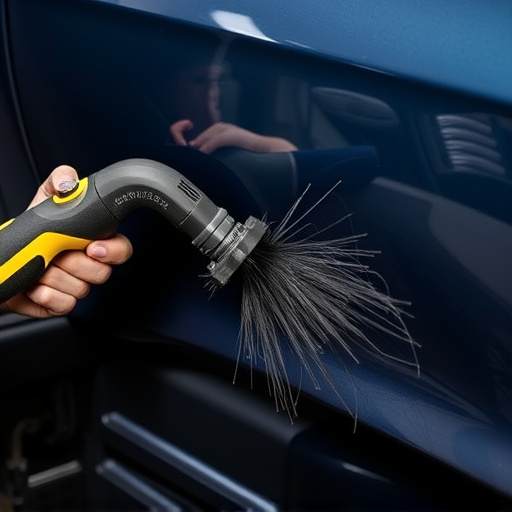
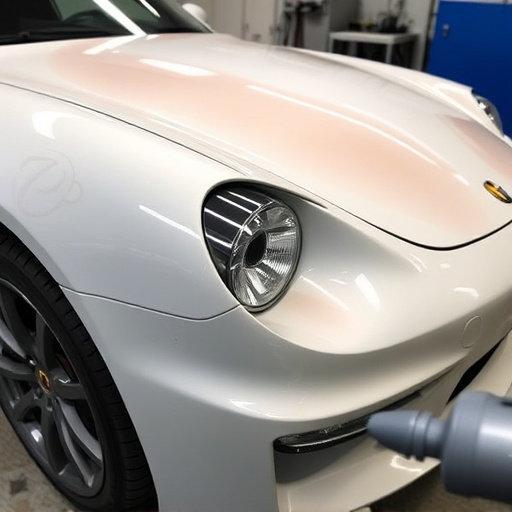
After completing bumper paint touch-up services, preparing the surface is paramount for achieving optimal paint adhesion. Before applying any new coat, thoroughly clean the area to remove any dirt, grease, or residual debris. This involves using mild detergent and water, followed by a thorough rinse to ensure no residue remains. Sanding the surface lightly can also help create a rough texture that enhances paint grip.
Additionally, repairing any underlying damages like dents or scratches through processes such as car body restoration or dent repair is crucial. Ensuring the surface is smooth and free from imperfections not only contributes to better paint adhesion but also gives your vehicle a more polished, professional look.
Match Color Precisely Using Appropriate Tools

After successfully completing bumper paint touch-up services, one of the key best practices is to ensure precise color matching using the right tools. This involves utilizing advanced color analysis technology and specialized paint samples to accurately replicate the original vehicle color. By comparing the damaged area with the surrounding unharmed panels, you can identify the exact shade and tone required for a seamless blend.
For accurate results, invest in high-quality paint meters or color scanners that provide detailed spectral data. These tools capture the unique color code, ensuring a perfect match across different batches of paint. Moreover, consult with experienced technicians who understand the intricacies of car restoration, including the nuances of fleet repair services, to achieve a flawless finish that rivals the original craftsmanship.
After meticulously inspecting, preparing, and matching your bumper’s paint color with precision, it’s time to revel in a job well done. Following these best practices ensures your bumper paint touch-up is not just a repair but an artful restoration. Remember, the key lies in attention to detail—from surface readiness to exact color match—to achieve a seamless and long-lasting finish. Your vehicle will soon be cruising with a restored exterior that commands admiration.